
Hey there, beautiful people! Lately, my clients have been asking me about natural ways to cleanse their face. So today, we’re going to talk about one of my favourite skincare practices: oil cleansing! If you’re tired of traditional cleansers that leave your skin feeling dry and stripped, oil cleansing may be the right method for you.
Oil cleansing is a popular skincare trend that has been gaining momentum in recent years. It involves using oil to cleanse the face, which is a natural and effective way to remove makeup, dirt, and impurities from the skin. It is also an excellent way to deep clean, moisturize the skin and improve its overall appearance. Let’s explore the benefits of oil cleansing, discuss the base oils that can commonly be found in your pantry, and the right way to oil cleanse!
The Benefits of Oil Cleansing
Some traditional cleansers on the market can strip the skin of its natural oils, leading to dryness and irritation. Oil cleansing on the other hand can help to balance the skin’s natural oils. Many people who have oily or acne-prone skin believe that they should avoid using oil on their face. However, using the right oils can actually help to regulate the skin’s natural oil production, reducing the appearance of oiliness and breakouts.
One of the best things about oil cleansing is that it’s natural and effective. Instead of relying on harsh chemicals, you’re just using oil to cleanse your skin. This helps to maintain your skin’s natural moisture barrier, which is so important for keeping your skin soft and supple.
Oil Cleanse to Remove Makeup and Impurities
Oil cleansing is fantastic for removing makeup, sunscreens, and other impurities from the skin. If you’ve ever struggled to fully remove your makeup at the end of the day, you’ll love how easily oil cleansers melt away even the most stubborn products!
My Favourite Oil Cleansing Bases
Now, let’s talk about the base oils, some of which you can find in your pantry.
Jojoba Oil
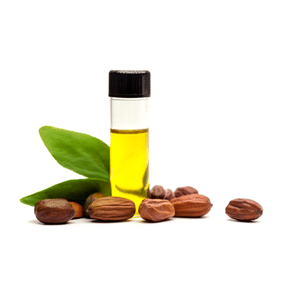
One of my favourite bases to use for oil cleansing is jojoba oil! It’s a great all-around oil that’s gentle on the skin and won’t clog your pores. Jojoba oil is also rich in vitamins and antioxidants, which help to protect your skin from environmental stressors.
MCT Oil
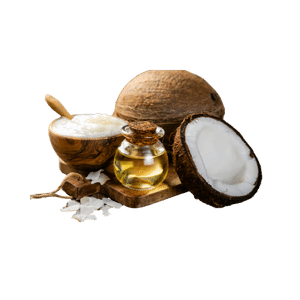
MCT oil, or medium-chain triglyceride oil, is another great option for oil cleansing. It’s a lightweight oil that’s easily absorbed by the skin, making it perfect for those with oily or acne-prone skin. MCT oil is also antibacterial, which can help to reduce breakouts and inflammation.
Avocado Oil
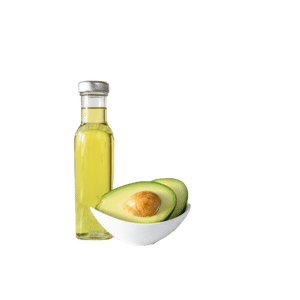
Avocado oil is a fantastic choice for those with dry or mature skin. It’s rich in essential fatty acids and vitamins, which help to nourish and hydrate the skin. Avocado oil is also great for reducing inflammation and promoting collagen production, which can help to improve the appearance of fine lines and wrinkles.
Grape Seed Oil
Last but not least, grape seed oil is a great all-around oil for oil cleansing. It’s lightweight, non-greasy, and won’t clog your pores. Grape seed oil is also rich in antioxidants, which help to protect your skin from free radical damage.
The Right Way to Oil Cleanse
So, how do you oil cleanse? Oil cleansing may seem simple, but there is a right way to do it for the best results. Follow these three simple steps below and your oil cleansing routine will be effective and hygienic!
My Simple 3 Step Oil Cleansing Method

Step 1: Apply Oil to Dry Skin
Start by adding 2-3 drops of your selected oil to your palm, rub your hands briskly together, and apply all over your dry face. Make sure your face is completely dry! This is important since oil does not mix with water; applying oil to wet skin makes it difficult to properly remove dirt, makeup, sunscreen, and other residue from the day.
Step 2: Massage Oil into Your Face
Gently massage the oil into your skin using circular motions with your fingertips for 1 minute. Take your time, focusing on areas that are prone to congestion or breakouts, and don’t forget your neck. Massaging the oil heats up both your skin and the oil, helping to break down and lift dirt and impurities from your pores.
Step 3: Use a Warm Fresh Face Wash Cloth
Use warm water and a damp washcloth to gently wipe away the oil in sweeping motions. Gently press the wash cloth onto your skin for a minute, allowing the heat to emulsify the oil. The emulsifying effect is key for proper oil cleansing. Rinse the cloth with hot water, wringing it out, and lay the warm cloth over your face for 30 seconds to 1 minute. Repeat this three times to ensure that all the oil is removed from your skin. The warmth of the cloth gives you a mini steam, helping to soften built-up debris in your pores, while the cloth itself will help to remove the oil and any dirt or impurities that the oil has lifted.
Pat dry with a clean face towel, follow with toner, serum, and moisturizer.
And that’s it! Enjoy the benefits of a clearer, more radiant complexion!
*Hot Tips for Oil Cleansing*
- Have a set of 10 to 15 washcloths available on rotation to use during the week for oil cleansing. This ensures you always have a clean one on hand. White washcloths will become stained with make-up and sunscreen, so choose a dark colour if this might bother you.
- When laundering your washcloths, use a high-quality laundry detergent, a long wash cycle and hot water to thoroughly clean them. This will prevent any bacteria buildup and ensure your skin stays clean and healthy. Add vinegar and baking soda or Oxiclean to the wash cycle, especially if you wear heavy make up or mineral sunscreens.
Nourish and Cleanse Your Skin Naturally
Remember to choose the right oil for your skin type, and to patch test any new oils before using them on your face. By following my oil cleansing method, you can nourish and hydrate your skin while removing impurities and maintaining your skin’s natural moisture barrier. Stick with it, and you’ll soon see the benefits of oil cleansing and how it may transform your skin for the better.
Give it a try, and let me know how it works for you. If you have any questions or comments, feel free to drop me a comment below.
Happy oil cleansing!
~Mei xo